How to Install Stable Diffusion on Windows PC
Installing Stable Diffusion locally
Generative art is surely a new thing, but it is definitely here to stay. There are different services that can help you create your own artwork, but many of them are paid, and hard to control.
Solution? Creating your own instance of Stable Diffusion on your Windows computer. It is free, and comes with many benefits, allowing you to tweak the results to your heart content.
What is Stable Diffusion? Generative art?
Stable Diffusion is a special algorithm which can create images. It learns from a huge database, trying its best to understand what is being portrayed within that data set, and then uses what it has learned to create new images. It is usually called AI, as in Artificial Intelligence. Frankly speaking, this is not exactly correct. A better way to call it would be the ML abbreviation, which stands for Machine Learning.
As the name suggests, the “machine” takes a look at the database, “learns” how things look like and how they interact, and then runs inference to create new images based on your input. Stable Diffusion calls it text-to-image: you write your prompt (more on that in a moment), you get a result.
Step by Step Installation Guide
We will need to:
- Install Python
- Install git
- Download (clone) web-UI
- Download Model files, LoRAs, etc
- Run it
List might look intimidating, with all those acronyms and words, but trust me – it is relatively simple process. So, let’s start.
Install Python for Stable Diffusion
Python is a programming language, but wait, we will not need to program anything. We need it to run extensions that will actually generate art. So, that’s useful.
You can download the Python installer from the official source (link). Simply scroll till the end and press the Windows installer (64-bit) link.
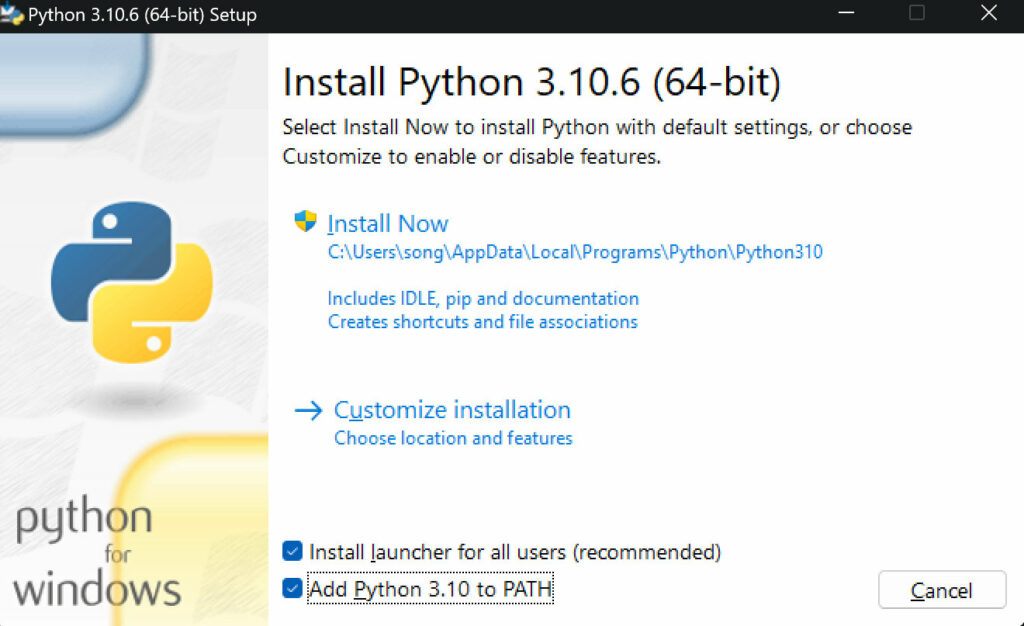
Don’t forget to enable the “Add Python 3.10 to PATH” check. After that, just click “Install Now”, and it will do the thing.
Install git for Stable Diffusion
Git is a repository management tool. Again, all of this sounds very important and hard, but again, we will be using it to input a couple of lines and that’s it.
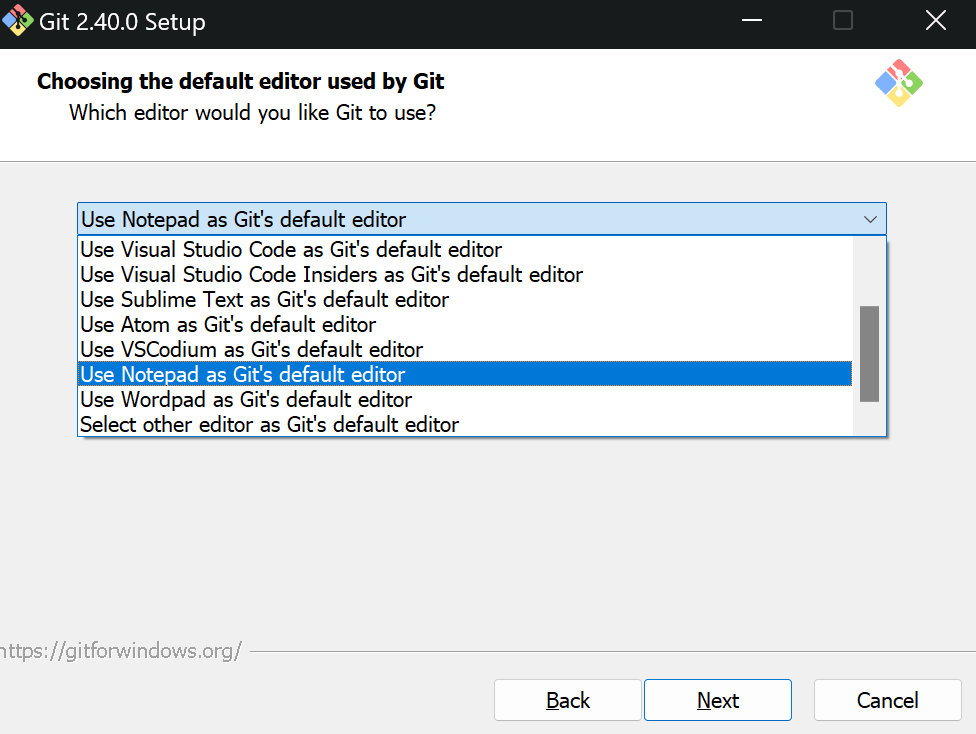
Download the git installer from official source (link), and then run it. It will ask you all sorts of questions and preferences, and the only thing you might want to change from the defaults is “Choosing the default editor” to notepad (not that you will use it anyway). Everything else is default. Just click away “Next”, it’s fine. This is fine.
Download (clone) Automatic1111 web-UI for Stable Diffusion
–establishing uplink – tap tap tap – tapping intensifies – entering the verse
Ready to pretend to be a 90’s movie hacker? Let’s go.
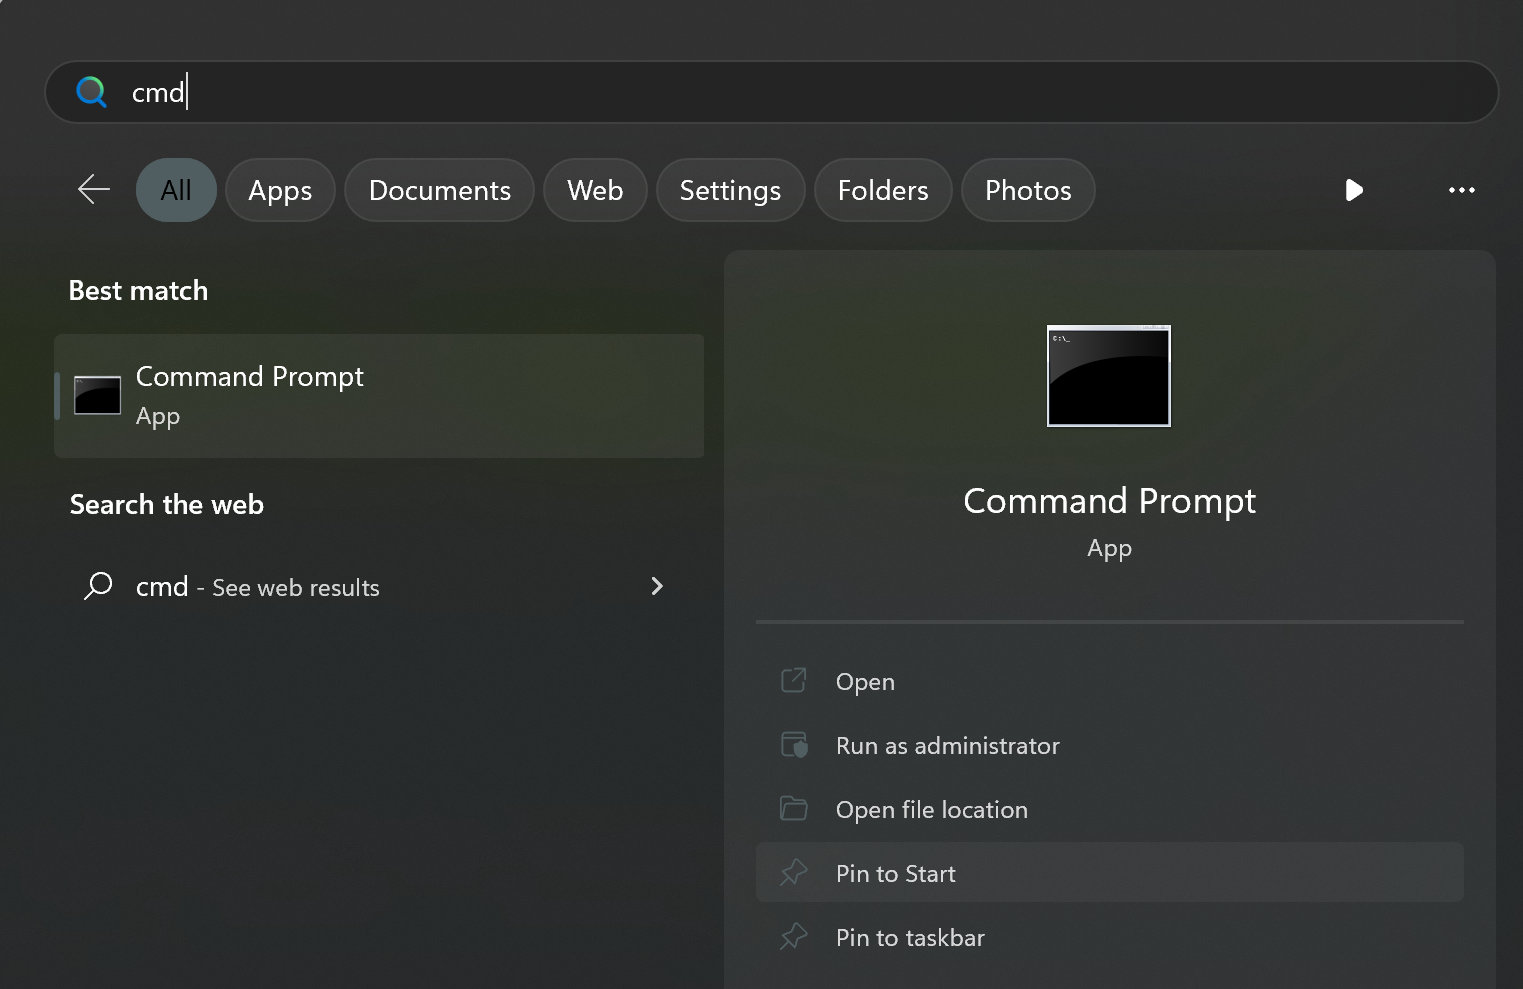
Nah. Just kidding. So, hit the “Windows” key (win for short), type “cmd” and hit enter upon seeing that Windows indeed wants to launch Command Prompt, and not search for weather (because Microsoft knows better, amarite).
First, let’s change the directory to our documents, so that we can easily access our Stable Diffusion installation later on. Do that by typing (or pasting) the code below:
cd %userprofile%/Documents
If you wrote it right, you will see that the cmd now indicates a different directory. Okay, next, we will download the Automatic1111 web-ui. Enter this code:
git clone https://github.com/AUTOMATIC1111/stable-diffusion-webui.git
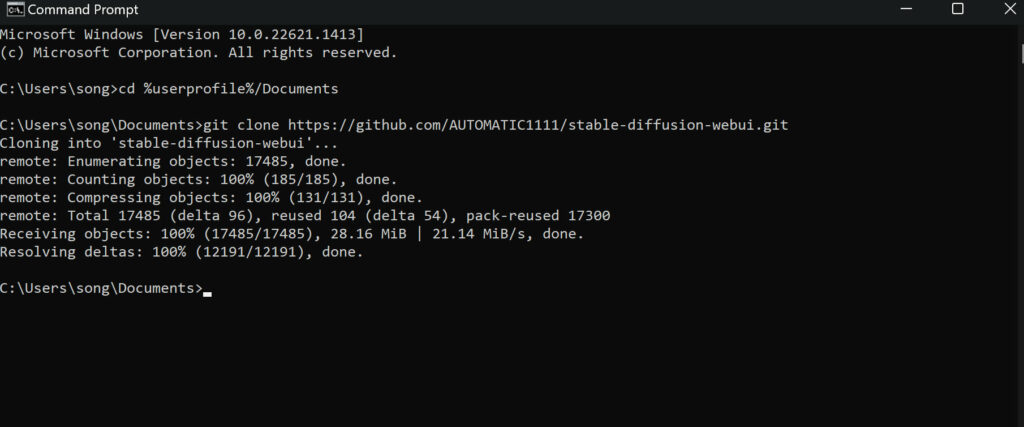
This is what you should see in your cmd window, apart from my actual account name obviously, which will be yours. Feeling hackerman yet?
Download Stable Diffusion Models
upd: This step became redundant with latest A111 installs, it automatically downloads the 1.5 model now. The additional model download instructions are still working (and actually might be preferrable).
You can download an official Stable Diffusion checkpoint model from the official source (link).
If you are not too sure how to navigate that page, here is a link to Stable Diffusion 1.5 checkpoint file:
https://huggingface.co/runwayml/stable-diffusion-v1-5/resolve/main/v1-5-pruned-emaonly.ckpt
Please note, this is the “official” release, and you can read and learn about these models on Stability.ai blog. Here is a link to the article which explains what’s new with the 2.1 model release.
Some of the new additions of new versions of models can feel less expressive (as outlined in the official blog article), and many users share this thought. However, it seems like newer models aim at being more ethical, so that’s good. As of yet, the 1.5 model will give you an easier way to achieve visually pleasing result.
However, you can download custom models and LoRAs too, so you are not restrained to using only one model. You can download them from Huggingface, or you can go to Civitai (warning, some of the models there contain NSFW content).
From there, you can pick and choose any model (checkpoint) you want, as well as LoRA to tweak your results (will update this article on how to use LoRAs soon).
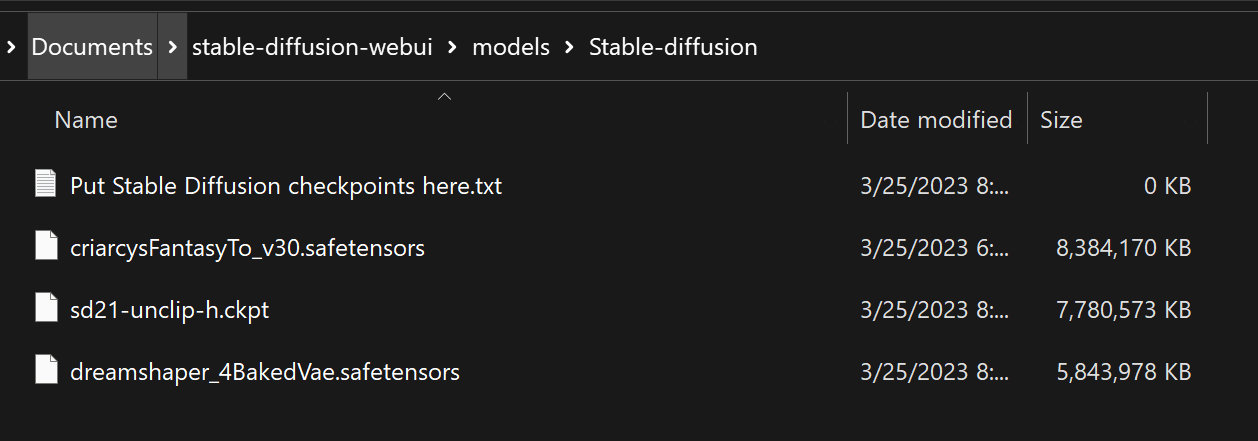
After downloading the files, move them to your Stable Diffusion folder like this one: \Documents\stable-diffusion-webui\models\Stable-diffusion
It should contain just a single txt file, with the title that you indeed should put model files inside it. As you can see, I moved the 2.1 official, as well as DreamShaper v4, and some other custom mix.
Run the Stable Diffusion web-UI
Finally, go back to your Stable Diffusion folder and run the webui-user.bat file. And then just wait for the setup to finish, it will take a couple of minutes. This procedure is a one-time thing, you will not need to download and install anything later (unless you want to update it). After the installation is done it will tell you that it is running on a local URL. All you have to do now is input that into your browser, and that’s it!
http://127.0.0.1:7860
In the top left dropdown you can choose your model that you downloaded (you can always download more).
In the txt2img tab enter your prompts. Below those, you can enter negative prompts to exclude things you don’t want to see (you can see mine in the screenshot). Chose your resolution (keeping it just above 512×512 is usually fine for most models), hit generate, and get the result!
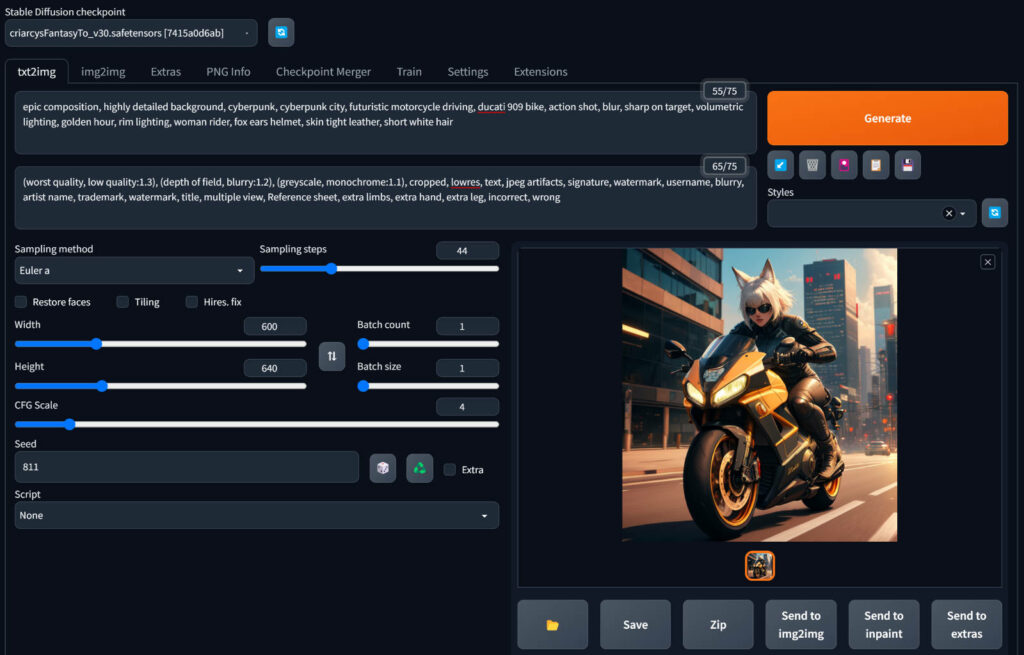
Clicking the yellow folder button will open the destination with all your generated images. Enjoy!
I will write a guide on how to use the Automatic1111 webui later, will update this article with all the links. A guide on LoRAs is coming soon as well. Stay tuned. For now, you can follow me on twitter. Have a nice day!
— song